Italy at Night - 27 June 2009 [ prev | next ]
...indoors. We were sitting around in a nice café in Padova, when I suddenly noticed the nice light.
This is my last post from my Italy trip. I have some catching up to do, however, and will try to post again later today. I am on vacation, by the way, and am stealing network waves where I find them, so contact is sporadic.
If you've ever wondered how gondoliere make it around a tight corner, wonder no more. I doubt that the owner of the house is as amused as I was.
One last facade for the time being, a house just past the fashionable part of Venice, right on the waterfront. I wonder what such a house would cost. Facades tell a lot about a house, but also a lot about the owner. This particular house is better kept than many of its neighbours, yet it manages to stay relaxed-looking, and not all prissied up like some of the houses in the tourist core. The owner appears to be concerned, but not overly concerned, with image and cleanliness, and has taken the time to get the little touches right, like the plant crawling over the fence and the door.
Another neglected building in Citadella, along one of the busy radial roads. I love the contrast between the rust and the grey building, colour vs. B&W. I might print this one.
In the smaller towns in Italy, and in the larger cities for that matter, I would often come across older buildings which clearly hadn't been on the receiving end of any TLC in recent times. They didn't always need it either, but had just developed a sort of patina, an apparent age and state of use. I find them very visually interesting, even if they are often not particularly attractive. Having been on a small trip around Rome and Toscana with an Italian friend from the area, I have also been fortunate enough to be on the inside of some of the same buildings, and they are often incredibly charming and well kept. Italians, in spite of their chaotic politics and reputation in general, have some kind of inherent sense of balance, and this often comes through in the way they arrange their homes. This particular building was in Citadella, and I was not able to enter.
On its own, it would hardly make sense to post this photo, but I have some others which together make a small set.
I really like this shot, but unfortunately, I cannot enlarge it much before it becomes apparent that there is something very wrong with the sharpness. Parts of the image are sharp, but others aren't, and it doesn't follow the usual pattern. Shortly after taking this shot, I realized that my Leica Summilux-M 35mm f/1.4 ASPH was slowly coming apart. Just in front of the focusing ring, there is a gap which used to be tight, but was now loose. I looked in vain for something to tighten, but had to accept that if I wanted to continue using this my most used lens, I would have to use one hand to hold the front tight while making the photo. Eventually I sent it back to Leica and it came back perfect, but meanwhile, it had badly affected a number of shots I had made. This one is probably the one I regret the most. Fortunately it looks good small. Maybe I can do some creative processing to lessen the impact of the soft focus.
I am done with B&W images from cemetaries and nearby parks for now, and will move to colour imagery from the M8 for a while. I will still try to post series of shots which are somehow related, however.
The next several photos are from an Italy trip I took last year. In general, I am quite disappointed with the results from that trip, with grey weather taking some of the blame, but my poor performance taking most. I look back at the photos with sadness. Apart from a friend's wedding, from which I had many very good shots, I cannot think of another opportunity in recent memory during which I made so few good shots. Out of perhaps 500 shots, I will post maybe 8. Clearly, I still have something to learn.
This is an improvised shelf in the wall of a neat little courtyard I found, probably in Citadella.
I was walking slowly through Volkspark Friedrichshain when I saw this scene in front of me, and knew instantly that it would make a good shot. Sometimes I don't know, and have to see the result before judging, but sometimes it is just clear.
I love the way the trees and bushes have arranged themselves into a gate, from shadow to light. I was a little worried that the light and shadow would be too different, but in the end the dynamic range of the scene was well contained by the Adox CHS 25.
Unfortunately, much of the feeling of the photo is lost in this little version, but I guess that is just how it is.
Leaving the cemetaries for now, there is a peace bell in Volkspark Friedrichshain which was sent by the Japanese World Peace Bell Association in 1989, as a symbol against nuclear warfare. It is quite a nice bell, and there is a suspended post which is used to strike the bell. This post has been placed out of reach now, but when I first moved to Berlin, you could still push it if you wanted to.
There is an area in the cemetary where the ground is almost covered with lush green plants, with the fallen gravestones almost appearing to go under in a sea of leaves. These gravestones also catch falling bits off the trees which cover the whole area.
Catch-up time again. I have lots of photos, but little time.
I have photographed these vines before, and there is a result somewhere in my old Leica M8 photo blog. I love the way they have struggled up this gravestone, only to be terminated from below. I don't know why someone would kill the vine and not remove it, but maybe it takes too much time.
This vine is growing on the back of an elaborate gravestone, very peacefully. One can only imagine how these frail-looking little plants tear down civilizations, given enough time. I had some difficulty getting the right angle, and needed to set up my tripod very close to the ground, in macro-position, but angled up. This is the same day that I had left my waist-level finder at home, so I was a bit of a sight, crouching close to the ground, trying to get the scene focused and composed, never mind metered. I cannot imagine how the Mamiya 645AFD-folk get their shots. I really ought to pick up a decent spot meter one of these days. Pointing the camera around the scene to get the metering right is a bit hit-and-miss, but leaving it on matrix-metering, or center-weighted metering is not an option.
A recurring theme in the types of cemetaries I enjoy to visit is that the graves are constantly growing over, and if left too long, start to get torn apart by nature. With little traffic and the kinds of budgets cemetaries must have, this is almost as inevitable as death itself. The better funded cemetaries can hold out longer, but ultimately they must all fail. This photo bears witness to this, appearing to be a very beautiful and expensive stone, carefully carved and polished, and now being dismantled by a vine.
There is an interesting thing going on with plants and graves in older cemetaries. If left alone, plants seem to grow preferentially in the neighbourhood of graves, for some reason. With some graves and plants there even seems to be a type of synergy.
This particular example was an exception, in that the nearby area had clearly been tended, but the plant on the gravestone left alone. I would have loved to see what it would have looked like if the entire area had been left as it was.
As usual, I spent some time walking around to find the best spot to grab it from, but as this was shot between other plants and gravestones, I had only a limited number of angles available to me. Add to this that directly behind the gravestone there is a busy street, on the other side of which are some tall buildings, and I was happy to get this at all. A straight-on shot might also have been interesting, but due to the building, there was no good angle from head-height. Maybe from a higher viewpoint, but I am not sure that the downward angle would have suited the subject. I might try again from a much closer vantage point near the ground, with my wide angle lens, and see if I can obscure the background that way.
This is probably the nicest grave memorial I have seen in my life. I keep going back and trying to capture it better, but I think this is the best I have done so far. If I had a larger tripod (over 2m, perhaps 2 1/2m), and a step ladder, I could do a better job. I might also be able to do a nice multi-row panorama, but I haven't tried that yet. There is a fence just in front of where this shot was taken which makes it hard to get a good angle. The angel's face is also quite dark, being shadowed by her hand and arm, so I lightened it a little there. Otherwise the shot is developed fairly normally, with little tweaking.
The mosaic above the casket is bright red and gold, and looks great in colour, but the rest looks better in B&W. I have done B&W conversions of digital shots before, but none which came out as nicely as this film shot. Film still has an edge when it comes to gentle roll-off in the highlights. An HDR sequence would get around that, but the fine grain also adds something, and by the time I have done an HDR multi-row panorama sequence, HDR'ed the individual shots together, panorama'ed them all together, played with highlight recovery and shadow, and added a little vignetting and film grain, it is much easier just to shoot film in the first place. Development and scanning doesn't take *that* long, compared to handling an elaborate shot digitally.
I missed two days, but will make up for it with more posts this weekend.
This is another impressive tree in the other half of the same cemetary as the previous image. I even prefer this tree. It is very difficult to capture the feeling of standing under such a tree, especially in small images like the one in this post. In a large print, perhaps 1m tall, it would be easier. This tree is quite a bit bigger than the other one, and unfortunately it is standing right next to an (unattractive) entrance, so it is harder to get a good angle. This angle works well, but that is more or less it, so far. I will keep trying to find other angles which work. I also want to try moving under the tree more, and using a multi-row panorama to capture the feeling of being inside the tree.
There are some graves which are so nicely located that I wish I could reserve one for myself, not that I am in a hurry to get there. The majesty of the tree, and the perfect harmony with the gravestone is easy to miss, but once you spot it, it takes your breath away. I worked for several minutes trying to find the perfect angle for this shot, working with my tripod to get the right height, and several curious people rubbernecked as they were walking by. Eventually none of them had the patience to figure out what I was doing, or the openness to approach me about it, but I would guess that they were curious to see what I was getting.
Metering in these situations is always tricky. Clearly, there must be some texture in the bark of the tree, and in the shade, but expose too low and too many parts of the scene would have been lost, such as the bushes in the background. Eventually, I chose to meter the ground at middle grey, and let the rest fall as it may.
Another one of these mysterious water baths. I am not sure what they are for, really. There are containers lying around, usually plastic margarine containers, but I move those out of the way for the photos, and surely this is not what these baths were originally intended for. For providing water for flowers they are overkill, as there are always taps next to them. Perhaps they were for thirsty horses pulling hearses, in older times.
In any case, I do like them, and often find them to be photogenic. Often they stand in the shadow, but right next to paths where there is lots of light, so getting contrasty images is almost a given, at least when the sun is out.
I had to crawl under the lower reaches of a tree to make this shot. The grave itself is in a good state, but the area needs some upkeep done. I was very close to the ground when taking this shot, with the legs of the tripod splayed out, and several people walking by did double-takes upon seeing me. I had some trouble framing the shot, and realized later that this is exactly the sort of shot for which I bought the waist-level finder, but I didn't have it with me that day. Lesson learned.
This is also the shot I have edited the most, so far in this blog. Mostly I just increased contrast locally, but I also burned it in a bit in the upper corners and one or two other places.
Well, not quite, but I love this forgotten, overgrown grave. The bright, sunny weather is not the best for catching the mood here, though, so one day I will go back when it is dark and rainy.
I have wanted to write a few words on my current workflow, and the time has come.
I am no expert on any of these matters, but have a little experience everywhere, enough to produce decent results, although probably not optimal ones.
Shooting
At the moment, I sometimes go out with my Hasselblad 2000FC/M with the 110mm f/2 FE, more often with the Leica M6 with the 50mm Dual-Range Summicron, but I do most of my serious work with the Contax 645 AF with either 35mm f/3.5 or 120mm f/4 Macro. I use the original hoods on all these lenses, as several of them are flare-prone. I use a Manfrotto 055C tripod (which I badly want to exchange for a Gitzo 3- or 5-series tripod) with a Really Right Stuff BH-55 ballhead with a quick-release lever. I also use an Acratech Leveling Base for convenience. I use the 2s delay (I might switch to 10s), which automatically invokes mirror lockup first. I meter with the built-in meter set to spot metering, and point the camera around the scene a bit until I have a feel for the range of values, before choosing my exposure. A bit informal, but so far it has worked okay for me. I would like to pick up a handheld spotmeter at some point and do more in the Zone System direction, but haven't gotten to that yet.
I am currently experimenting with various films, and have or have tried Tri-X, T-MAX 400, HP5, Adox CHS 25 (known as Efke 25 in some countries), Adox CHS 50, and perhaps one or two others, like Fuji Acros and the new Kodak Ektar (colour, the horror). My goal is to pick two or three favorites for various conditions, and get really good with these films. At the moment I lean towards Tri-X for the Hasselblad and Leica M6, and Adox CHS 25 with the Contax, but I need something in between for when Tri-X is too gritty but ISO 25 too slow. Perhaps T-MAX 100, possibly pushed to 200, or something like that.
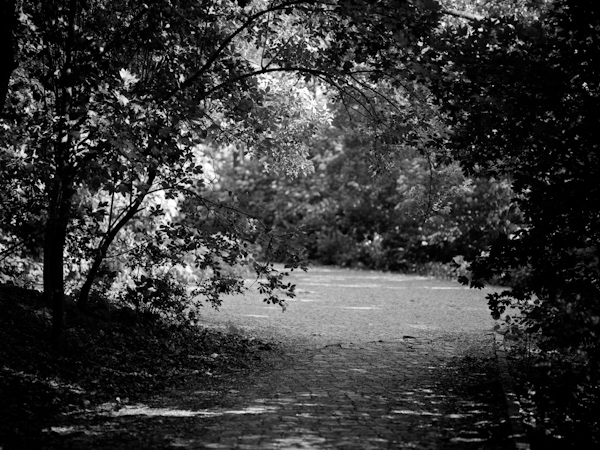
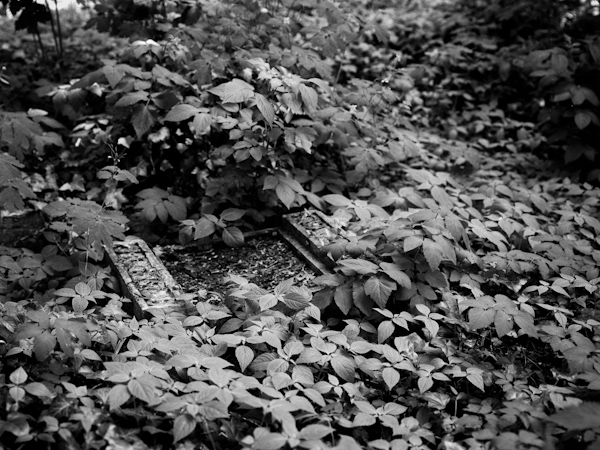
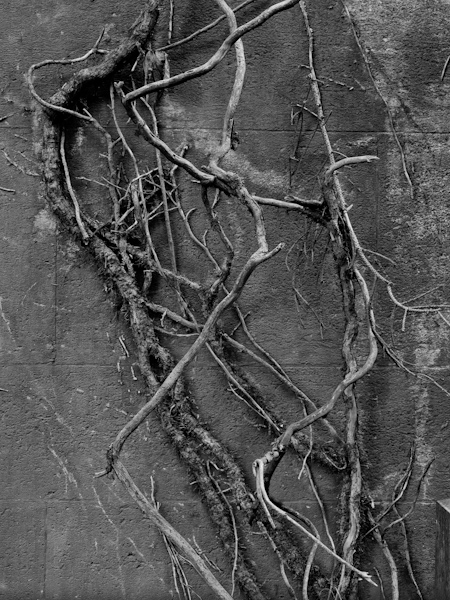
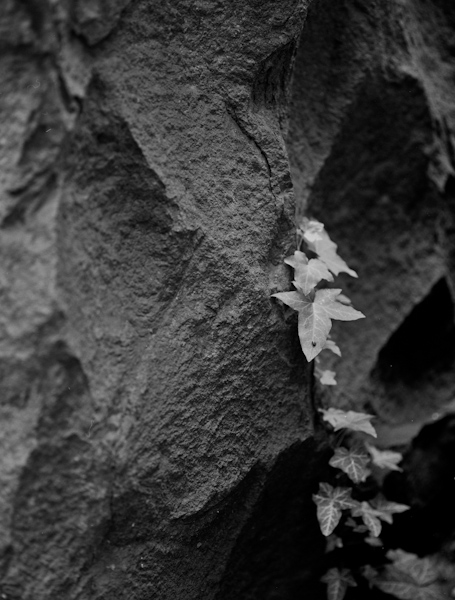
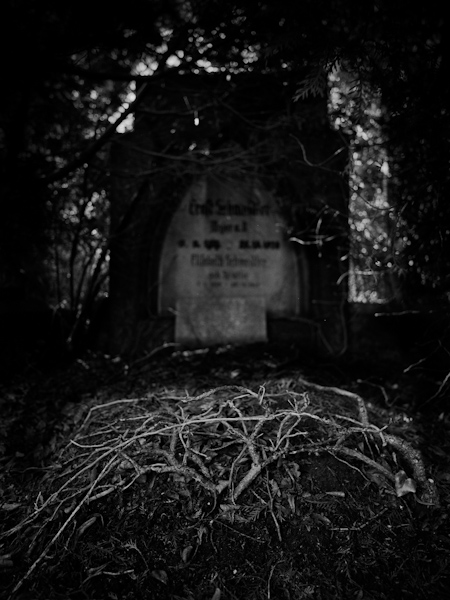
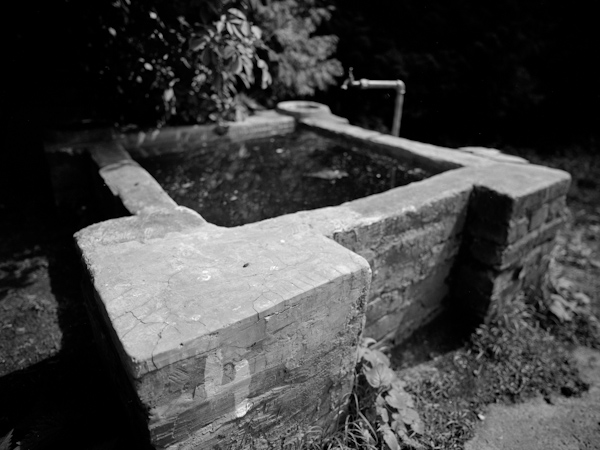
Anyway, the shots in this blog have so far all been taken with the Contax with Adox CHS 25, a very fine-grained film. In fact, I can barely see the grain in 2400 dpi (25 MP) scans on an Epson V750!
Loading the Development Tank
When I have two identical and identically exposed films (and can find the time), I develop. First I have to get the films off the rolls and into my Paterson System 4 2-120 roll tank, and for this I use a dark bag, a contraption with two elasticized holes for my arms, and a double-zippered end to get stuff in and out. I pack in a pair of scissors, the film, a film reel, the tank, its tube and its funnel, the last three bits still assembled to save space in the bag. I remove the tape on the film before putting it back in a black film cannister, making sure that the film doesn't unroll and expose the sides as I do this.
In the bag I remove the film from the cannister, push the cannister into the corner out of the way, and hold the film. I slowly unroll some of the paper, until I get to where the film starts. I rip off as much paper as I can, to make it less fiddly to start getting the film onto the tank reel. Then I thread the film onto the reel, and "walk" it along, holding the reel between my two hands with the film coming up into the reel at the front. This way I can let the film slide between the ring fingers and the little fingers on both hands, taking care not to smudge the film with my fingers, and can thus feel when the end is nigh. Once I have most of the film on the reel, I search for the spot where the film is taped onto the paper backing, and carefully cut the film off there, as close as I can without leaving any tape on the film.
Once all this is done, I carefully push paper bits, the remaining film roll, and scissors to the side, and open the development tank, putting the reel on the tube, back into the tank, and funnel back in.
At this point the tank is light-tight, and I remove everything from the bag. I repeat all this for the second film, with a second reel. The first one is safely in the tank, and I now add the second one.
Development
I am also trying different developers, but stick to water stop bath, Tetenal Superfix Plus fixer, and Tetenal Mirasol 2000 antistatic. I have so far just tried D-76 with Tri-X, and Agfa Rodinal with Adox CHS 25. I also have Adox ATM 49 and X-Tol on hand, and will try some others, like Diafine, which is meant to scan well with Adox CHS 25. So far I like the results I have gotten with the two combinations I have tried. I chose these two combinations as my first two based on a lot of reading and thinking about my preferences, so it is quite possible that these will be my final choices as well.
I don't have any fancy equipment, just a bunch of 1-liter measuring cups (hence the 2-120 film development tank, since each 120 film needs 500 ml of solution). I fill my kitchen sink with water at slightly warmer than the correct temperature of 20 degrees Celsius, place the pre-measured developer, fixer, and Mirasol 2000 measuring cups in the water, and stick a thermometer in the developer. Once the right temperature is reached, I start. Note that all solutions are pre-mixed and already at room temperature, so they all cool down together. The developer is most temperature critical, but with most B&W films, there is a tolerance of a couple of degrees. With colour films, you would need a Jobo development machine or some other way of controlling the temperature tightly.
For Adox CHS 25 shot at 25, I use 1:100 Rodinal and develop for 16-17 minutes, turning the tank twice gently every minute, and then knocking it on the table to loosen any bubbles. The less air there is in the tank, the easier it is not to get bubbles in the liquid, so I use the 2-roll tank and always develop 2 films. For 35mm film I either develop 3 at a time in this tank, or switch to my smaller tank which holds 2 35mm films at a time, each taking 300 ml per film. I prefer the larger tank, since I then always have to mix about 1 l of each solution.
Once the developer is done, out it goes, and water in. I turn this continuously for 3 minutes, changing the water once. Then I pour the 1:9 fixer in and turn continuously for 4 minutes or a little longer. These times are all the recommended values. I then wash the film many times with fresh water. I really should leave it in the sink with water running through it for 10 minutes, but I haven't done that yet. Now that I am getting good results, I feel that it is important to tighten up the procedure to get the most out of it.
Finally, I take the films out, pour 500 ml 1:400 Mirasol in the tank, and dunk the films one at a time a few times, for a total of a bit more than 30s. Then I hang them up to dry with Jobo "vampire" film clamps. I use a trouser hanger which I hang over the edge of the inside of my shower stall, which I know is not dusty! I close the shower, and wait for a few hours. The films feel dry to the touch much earlier than that, but it takes time for all the liquid to leave.
When dry, I cut the film into 4 3-negative strips for 6×6 cm and 4 4-negative strips for 645, and insert them into protective plastic sleeves.
Scanning
So far, I have been scanning the negatives with my Epson V750, using the standard film holders and Epson Scan. I find Silvertech wildly confusing, and it is meant to be better for colour film, with Epson Scan handling B&W just as well. I do a pre-scan, select all negatives at once, leaving some extra room for trimming and possible slight rotation, although I try to lay the negatives straight in the film holder, since rotation loses resolution.
For each negative, I open the dynamic range tool (DMax?) and run it over the image, seeing how large and small the values get. Then I open the histogram tool, and tune the black point and white point to be slightly wider than the darkest and brightest values I want to retain. For some reason, the white point output range is normally set to 200, but I set the black point output to 10 and the white point output to 245, leaving 10 unused by my desired data at each end. This lets slightly darker and brighter regions also be handled, with only the real outliers being pure black or white. I double-check my work with the DMax tool, and close the histogram.
I use a scanning resolution of 2400 dpi. I don't believe that this scanner is capable of extracting more information from the negatives, even though higher resolutions are available. I tried 6400 dpi and confirmed that I was not seeing more information. I might try 4800 dpi, but to be honest, 2400 dpi yields a 25 MP image, roughly, which is more than enough for my needs, and they do take up a lot of space on disk. I scan in 16-bit greyscale mode, which yields slightly smaller (and more optimal!) files than 8-bit colour.
I make sure that the scanning mode is set to film+holder, choose B&W film, and scan. I use a naming system of camera-lens-film-frame, for example C645-35-a25-00004.tif.
I recently bought two Newton Ring resistant glass pieces, and want to try scanning directly on the glass plate. I think I might get slightly better results this way, since I see that the holder doesn't completely deal with film curl. This glass is expensive, so I just bought two, for scanning two negatives at a time. The glass is slightly wider than 6x6 cm, so I couldn't do 3 or 4 at a time anyway, but I might buy another 2 pieces so that I can work on 2 strips at a time. This breaks the automatic naming sequence of the scanning software, however, so I might also not do this.
Finally, I import the results into Lightroom 2, do any final processing there, and export for printing, putting on the web, emailing, and so on. Final processing typically involves slight sharpening, and a slight contrast boost, possibly with a slightly raised black point, since I was scanning the negatives a little on the flat side.
And that is all.
I will correct mistakes and errors in this post, so don't expect it to remain static. When I get the bugs hammered out of the process, I will turn it into an article, and refer to that article from here.
I am open to comments, criticism, suggestions and anything else.
Here is my first test shot with the Hasselblad 2000FC/M, which I bought to accompany my Hasselblad 110mm f/2 FE. I had actually bought the lens to use with an adapter on my Contax 645 AF, but liked it so much that I wanted to try it in the intended way as well, i.e. with a Hasselblad 2000- or 200-series camera. The 2000-series has somewhat fragile titanium shutters, but on the HasselbladInfo Forum I was able to find a nice FC/M for a reasonable sum.
With this classic camera-lens combination, I wanted to shoot a classic film-developer combination and settled on Tri-X with D-76. I developed it the recommended way, and scanned on my Epson V750.
The photo is of an old two-slide slide projector I had standing around. It is taken at the near limit, wide open. I really love the look, and the scanned grain is really quite okay, if you like that sort of thing. I expect the grain to be more of a problem when I start developing and scanning my Leica M6 35mm Tri-X films, but for now, I am happy with the results.
Here is a 100% crop of the plug. I made the photo at a rather low shutter speed, so don't worry too much at the apparent lack of sharpness. I have other (less interesting) photos which show that this lens is indeed sharp wide open. This crop shows the scanned Tri-X grain clearly, however.
I spent two or three days, going back to the two cemetaries nearby, taking photos only with the Contax 645 and the 35mm f/3.5 and 120mm f/4 Macro. It was somehow really purifying, getting back to something which, even with a digital camera as great as the M8, had been missing without me knowing it. It was liberating not to constantly look at the back of the camera to check the results. I had to work slower, checking the bright and dark parts of the photo, choosing the exposure very carefully to get the important things properly exposed, and only letting chosen parts slip into pure black or overexpose without detail.
In the two cemetaries, there were water baths with taps, and lots of little containers lying around to water the plants on the graves, but the water baths themselves are quite interesting. All different shapes, depths, layouts, features... I ended up making a series of photographs of them, just because they were such interesting objects. More cerebrally interesting than photographically interesting, for the most part, but I hope that if I accumulate enough of them that the collection will start taking on a life of its own.
Here is one of the nicer ones, with a stereotypical exaggerated wide angle look, and selective focus close to the eye. Most of the other shots were more documentary in nature, less flashy. I will post photos of the other nice ones over the next few days, mixed in with other cemetary shots.
There are several older cemetaries close to where I live, and not so many nice parks, so when I want to get away from civilization a bit while not having a lot of time, I often go and make photos in one of them.
There is something about cemetaries which makes the imagination wander. I am not superstitious in the slightest, but there is something about cemetaries that gets under my skin, while at the same time fascinating me.
I don't know what this door is for. It is in a cemetary, however. I imagine that it is just a storage shed for rakes, cutters and so on, but there is a small part of me that thinks it might contain stacks of corpses, sorted alphabetically or chronologically, or by weight.
Welcome to my 2009 photo blog. I will not be able to post a photo a day any longer, partly because I now have my very own awesome micro-family, and partly because my only decent digital camera, the Leica M8, is currently in Solms getting its update done. Therefore I am shooting film exclusively at the moment. For this, I am using my Hasselblad 2000FC/M with 110/2, Leica M6 with any of my Leica M lenses, but mostly the 50 Dual-Range Summicron, and finally, but certainly not least, the Contax 645 with 35/3.5, 80/2, 120/4 Macro, as well as the 110/2 with adapter, 45/3.5 Hartblei T/S Super-Rotator, and Arsat 30/3.5 fisheye. With the Contax, I find myself using mostly the 35/3.5 and 120/4 Macro, and in third place, the 110/2.
Let's get this baby off the ground!